Kitchen & Coffee Bars
12 Kitchen Countertop Decor Ideas That Look Beautiful Without Adding Clutter
Style your kitchen counters without losing prep space. Explore 12 practical countertop decor ideas with trays, greenery, coffee corners, and simple accents.
- Published
- November 13, 2026
- Reading time
- 16 minutes
- By
- NorahDecor Editorial
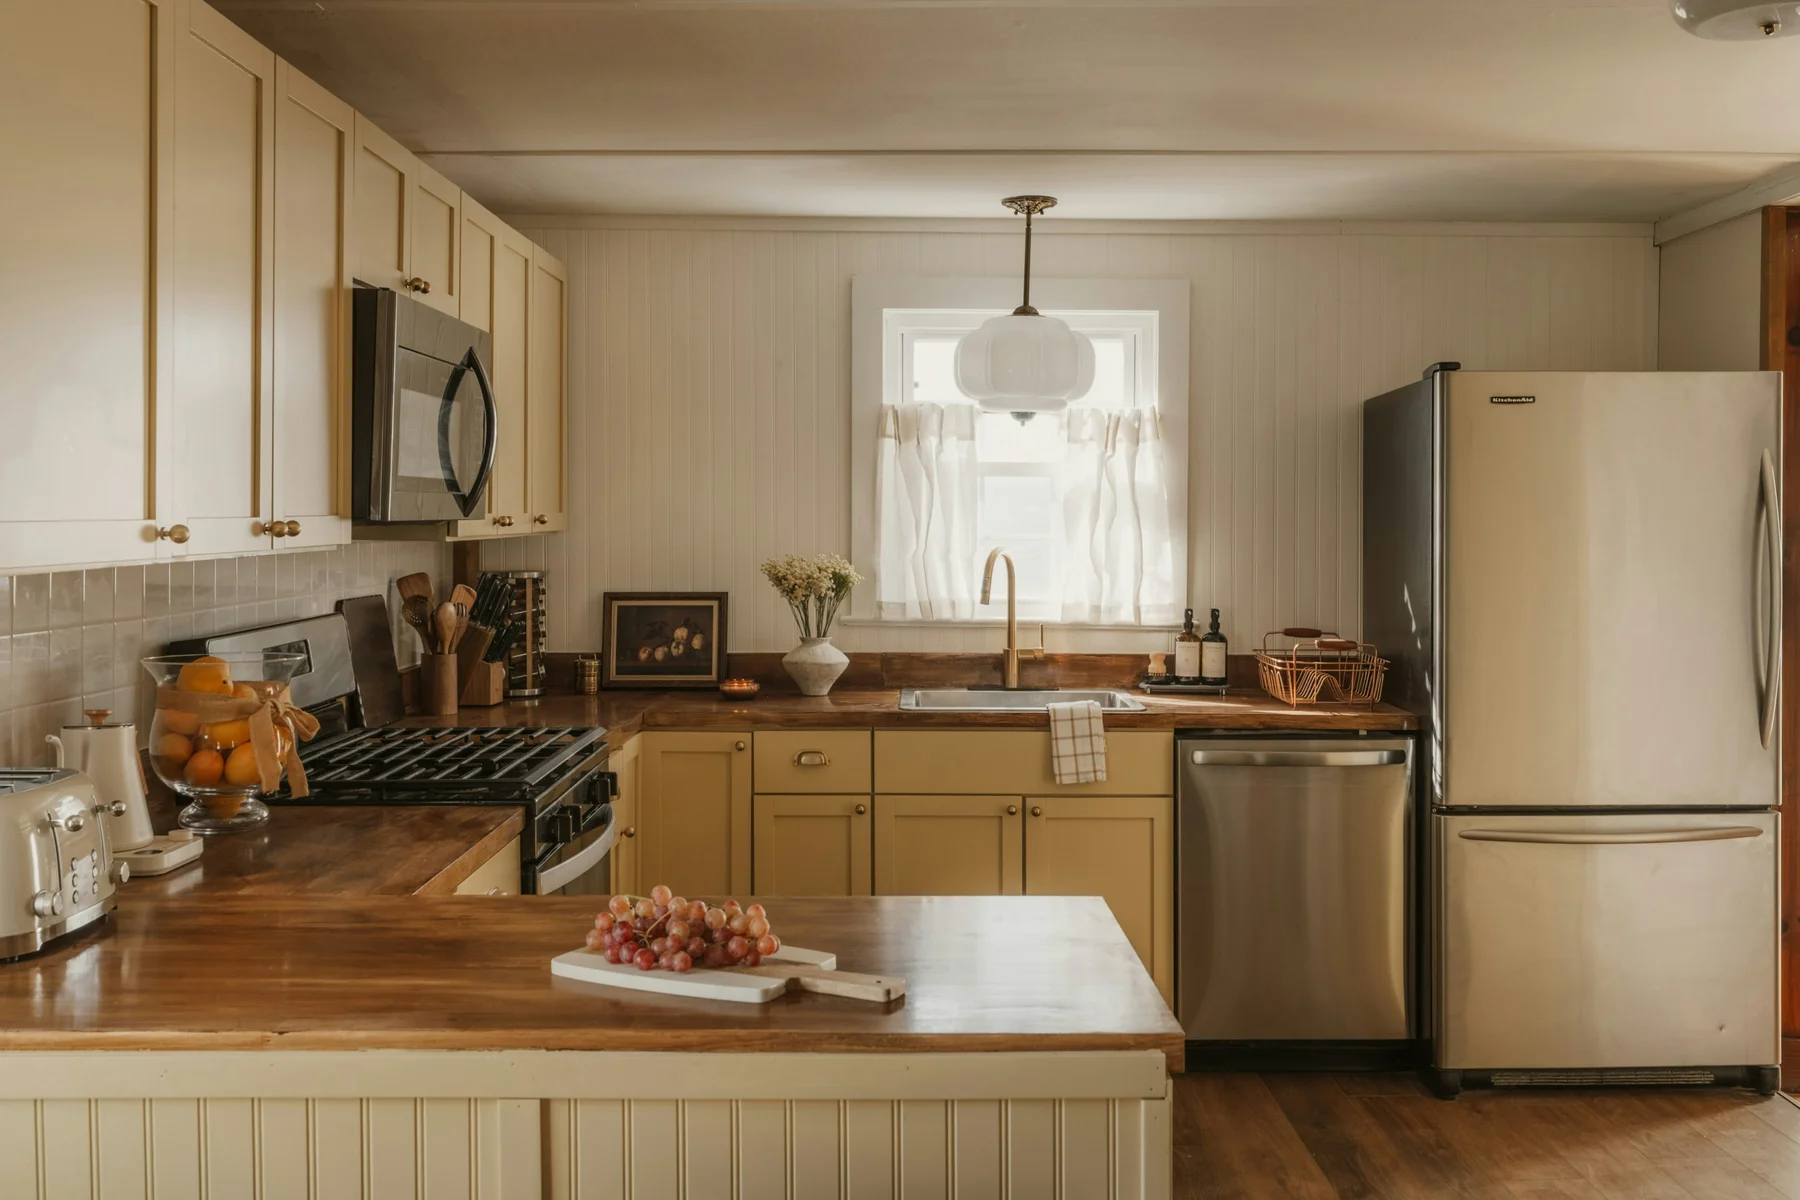
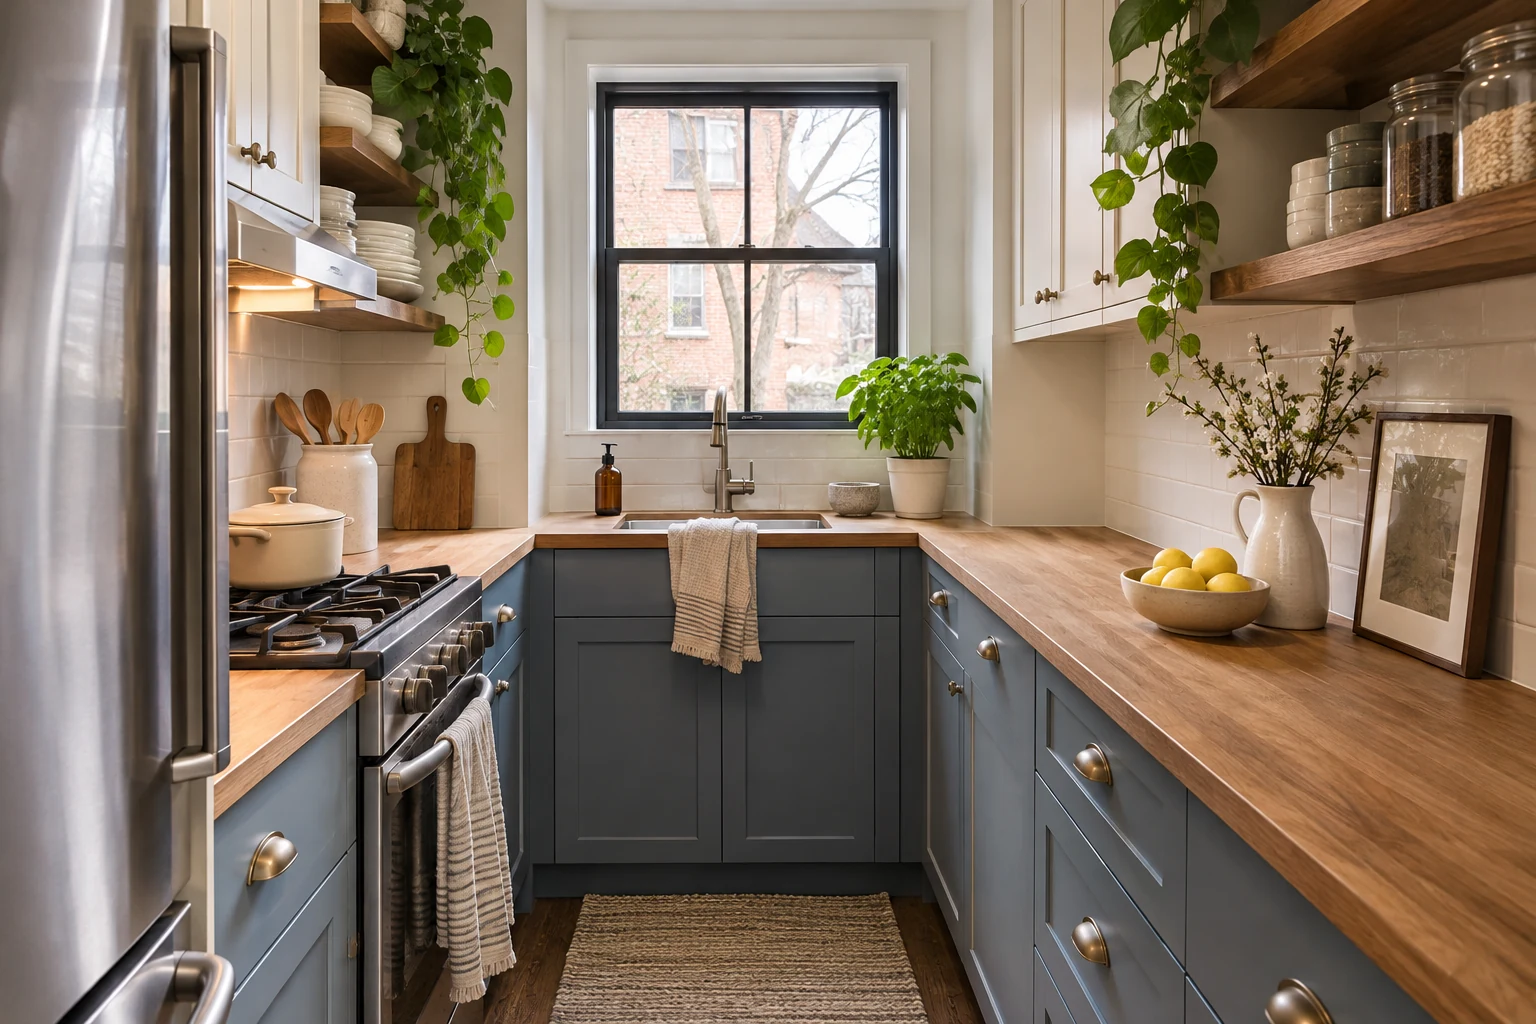
A kitchen counter has to do several jobs. It is where you make breakfast, unload groceries, chop vegetables, and put down the mail when you walk through the door. It is also one of the first surfaces you see when you enter the room. No wonder decorating it can feel tricky: add too much and the kitchen becomes difficult to use; leave everything bare and a perfectly good room can feel unfinished.
The most successful kitchen countertop decor ideas work around everyday habits rather than asking you to change them. A well-placed tray can make the coffee corner feel intentional. A ceramic utensil holder can add texture while keeping wooden spoons handy. A bowl of fruit, one bunch of flowers, or a few well-chosen pieces can bring a little warmth without swallowing the space where you cook.
You do not need an empty, oversized kitchen or a matching set of new accessories. Start by deciding which parts of the counter must remain clear. Then give just one or two places a decorative purpose.
Before you decorate: find the counter space you can actually spare
Walk through an ordinary day in your kitchen. Where do you set down the chopping board? Is there a stretch of counter beside the refrigerator where you unpack groceries? Does the coffee maker need room for a mug, water, or a grinder? What do you have to move every time you make dinner?
Use those answers to divide the counter into three loose zones:
- Work zone: The surface you need for preparing food and setting down hot or heavy items. Keep this area open and easy to clean.
- Everyday zone: A place for things you reach for regularly, such as coffee equipment, a utensil crock, or a fruit bowl.
- Decor zone: A short run of counter or a corner that does not compete with the sink, cooking area, appliance ventilation, or the main prep surface.
If you have only one short counter, the decorative zone might be no more than a small vase on the windowsill or a compact tray at one end. That is enough. The goal is not to fill every available inch.
1. Gather a few small pieces on one shallow tray
A tray is useful because it gives separate objects a visual boundary. Instead of seeing a candle, a tiny jar, and a vase scattered across the counter, your eye reads them as one grouped arrangement.
Choose a shallow tray that is easy to lift and wipe underneath. Place one taller item at the back, one lower object in front, and stop before the tray looks crowded. For example, a small stoneware pitcher, a short glass jar, and a sprig of greenery can make a quiet arrangement beside the dining end of a kitchen island.
Make it practical: Keep the tray small enough that you can move it with one hand when you need the surface. On a narrow counter, an oval or rectangular tray usually fits against a backsplash more naturally than a wide round one.
Avoid: Putting candles, paper, dried flowers, or other combustible decor near a stove. Keep decorative arrangements away from active cooking areas.
2. Let a beautiful cutting board add natural texture
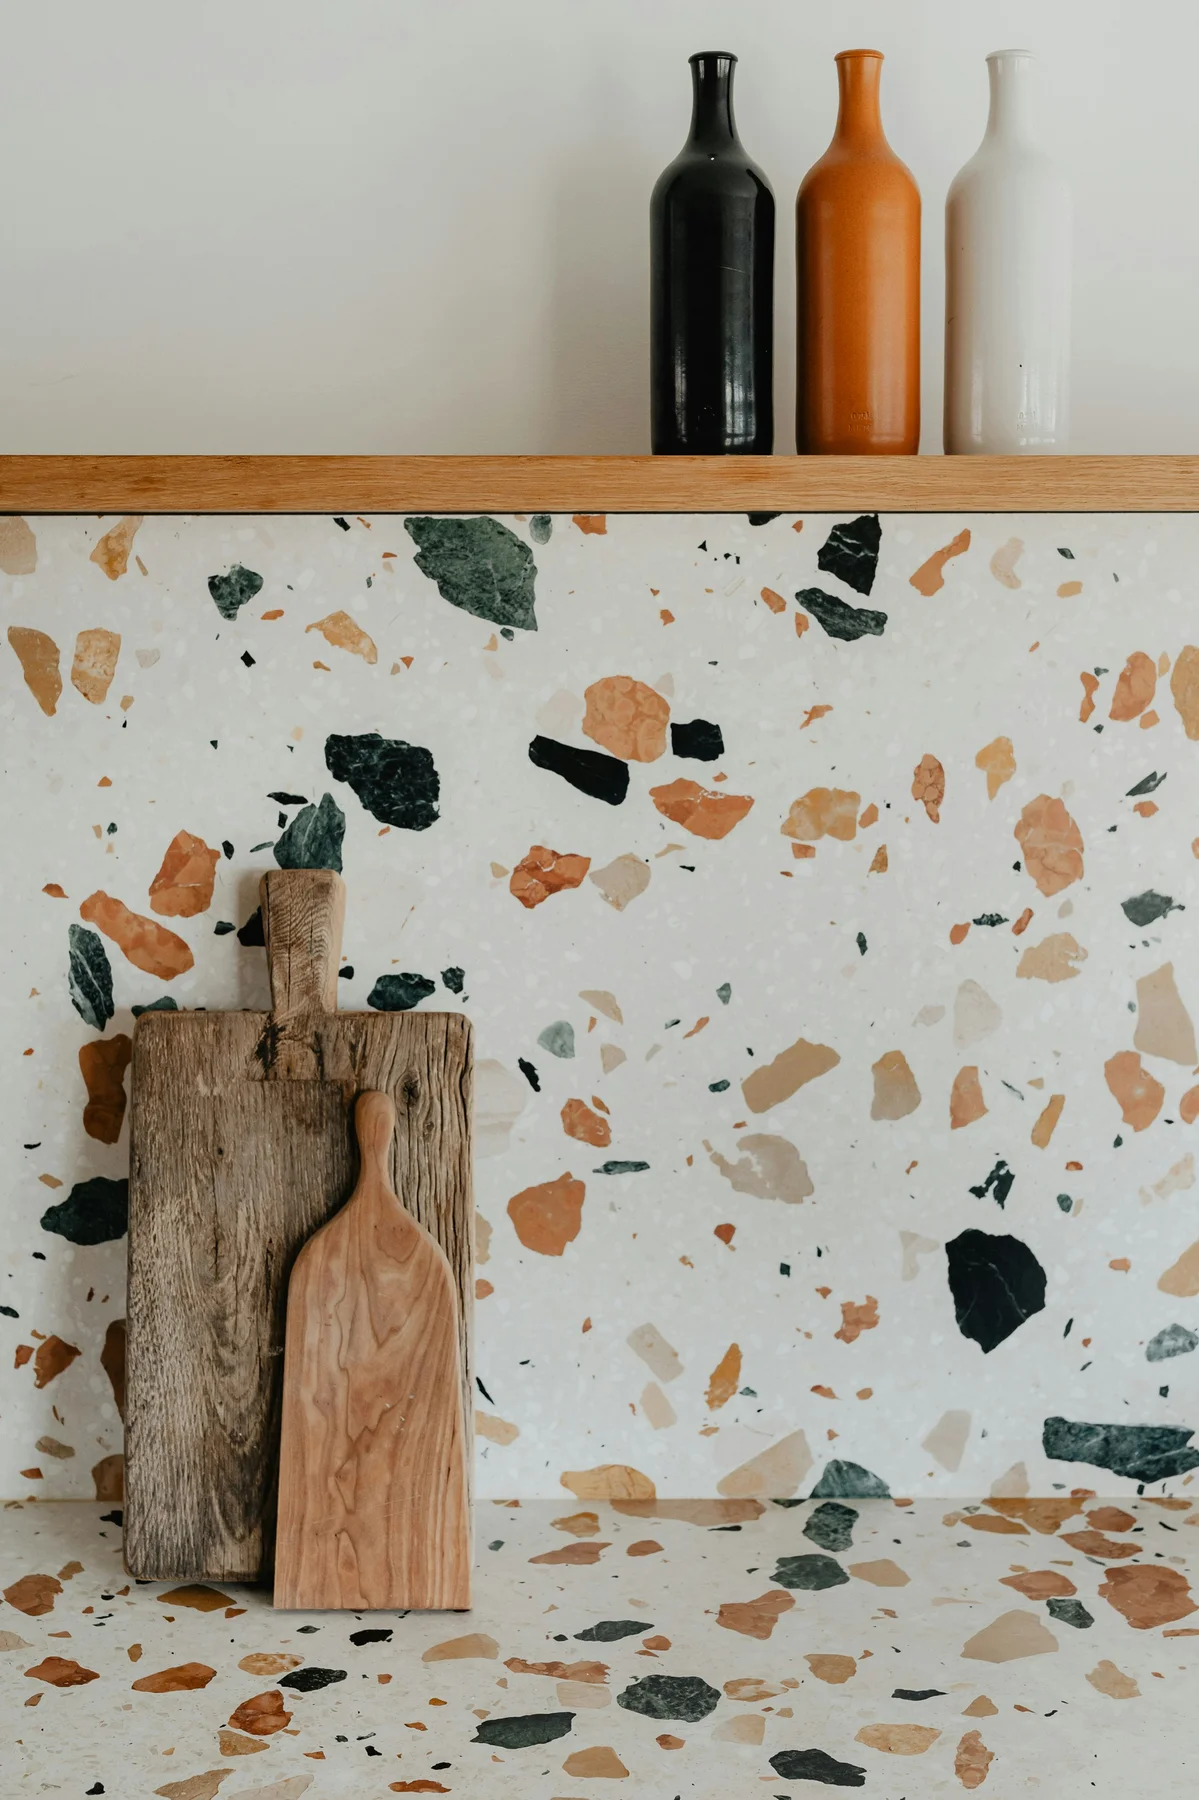
Wood has a way of softening kitchens dominated by tile, stone, stainless steel, or painted cabinetry. A plain, clean cutting board can add that warmth without requiring a dedicated decorative purchase.
If you have room, lean a medium-sized board against a dry section of backsplash. Mix a darker board with a lighter one only when the widths and shapes look deliberate, not like an overflowing collection. A single board beside a crock of utensils often makes more sense than a lineup of six boards.
Think about where you will actually use it. A board you reach for every day belongs near your prep area, but it should not block an outlet, crowd a cooktop, or be left damp against the wall. Wash and dry food-contact boards according to their material and manufacturer instructions before storing them.
Best for: Kitchens with pale counters, glossy tile, or very little natural texture. A board works as decor because it already belongs in the room.
3. Make everyday utensils look like a considered collection
A utensil crock is a small styling decision that can improve the way a kitchen works. Instead of keeping spatulas and spoons in a jumble, choose one sturdy container that holds the tools you genuinely use.
Try warm ceramic in a modern kitchen, dark stoneware against light cabinets, or a simple metal vessel in a vintage-inspired space. A slightly tapered shape can make wooden utensils look collected rather than crowded. Keep the tallest handles at the back, and leave room to lift an individual utensil without pulling out the whole bunch.
Do not display every kitchen gadget you own. A few frequently used pieces are enough; specialized tools can live in a drawer. Place the crock where you can reach it while cooking but away from burner flames and the path of hot pans. Keep wooden and other flammable utensils away from stovetop heat.
Quick edit: If a utensil holder looks messy, removing half its contents will often help more than buying a prettier holder.
4. Create a coffee corner that uses one defined footprint
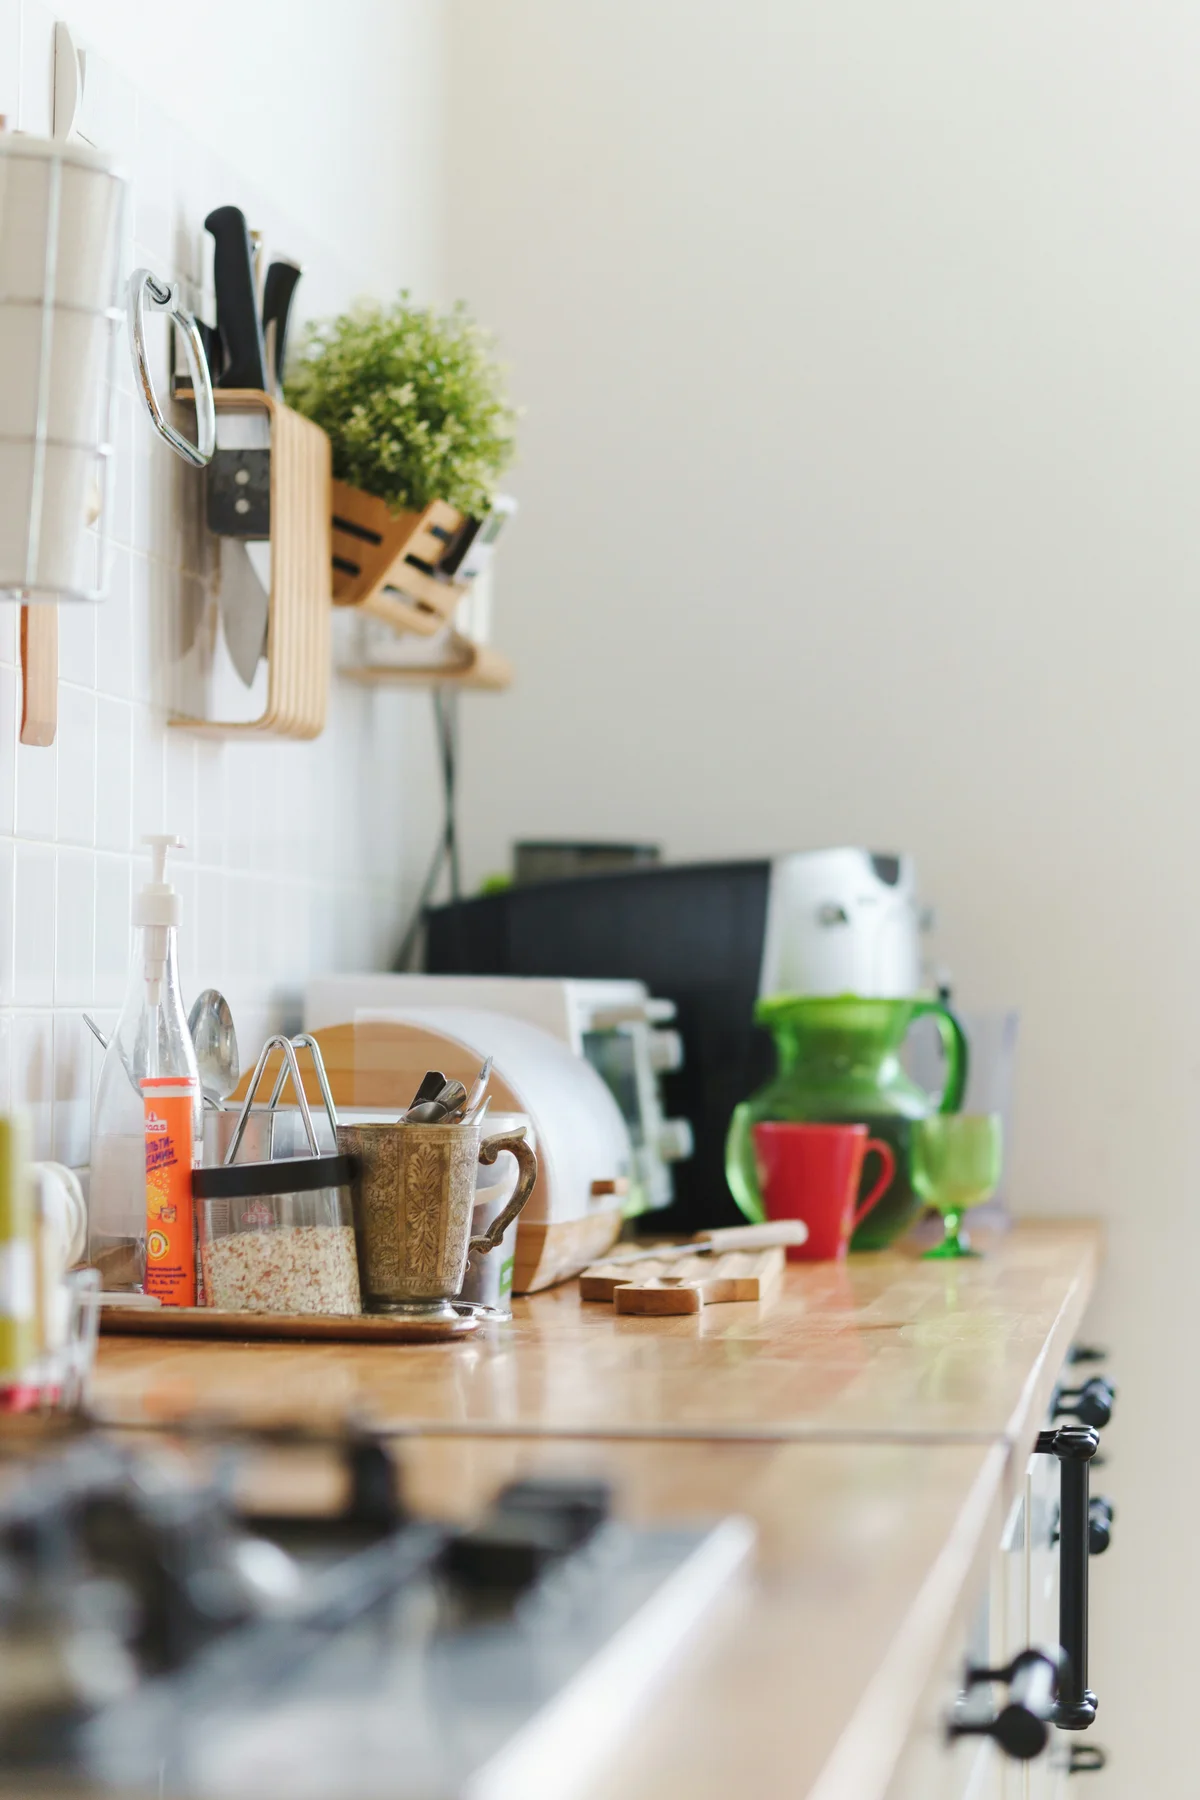
A coffee station can be attractive without taking over the kitchen. The trick is to keep the coffee-making process together: machine or kettle, mug, coffee, and whatever you genuinely use to prepare a drink.
If an appliance already lives on the counter, let that be the center of the setup. A narrow tray or a small lidded jar beside it can hold filters, pods, or teaspoons. Store spare mugs and extra supplies in the cabinet above or below instead of displaying everything at once.
Leave the clearance the machine requires for ventilation, opening lids, filling the water reservoir, and moving a hot carafe. Check its manual before putting decorative shelves, fabric, or plants too close. In a tiny kitchen, a clean mug and a single jar can look more inviting than an elaborate miniature cafe.
Best for: A counter end or corner that is already used for morning drinks. Keep the sink and main preparation area free for other tasks.
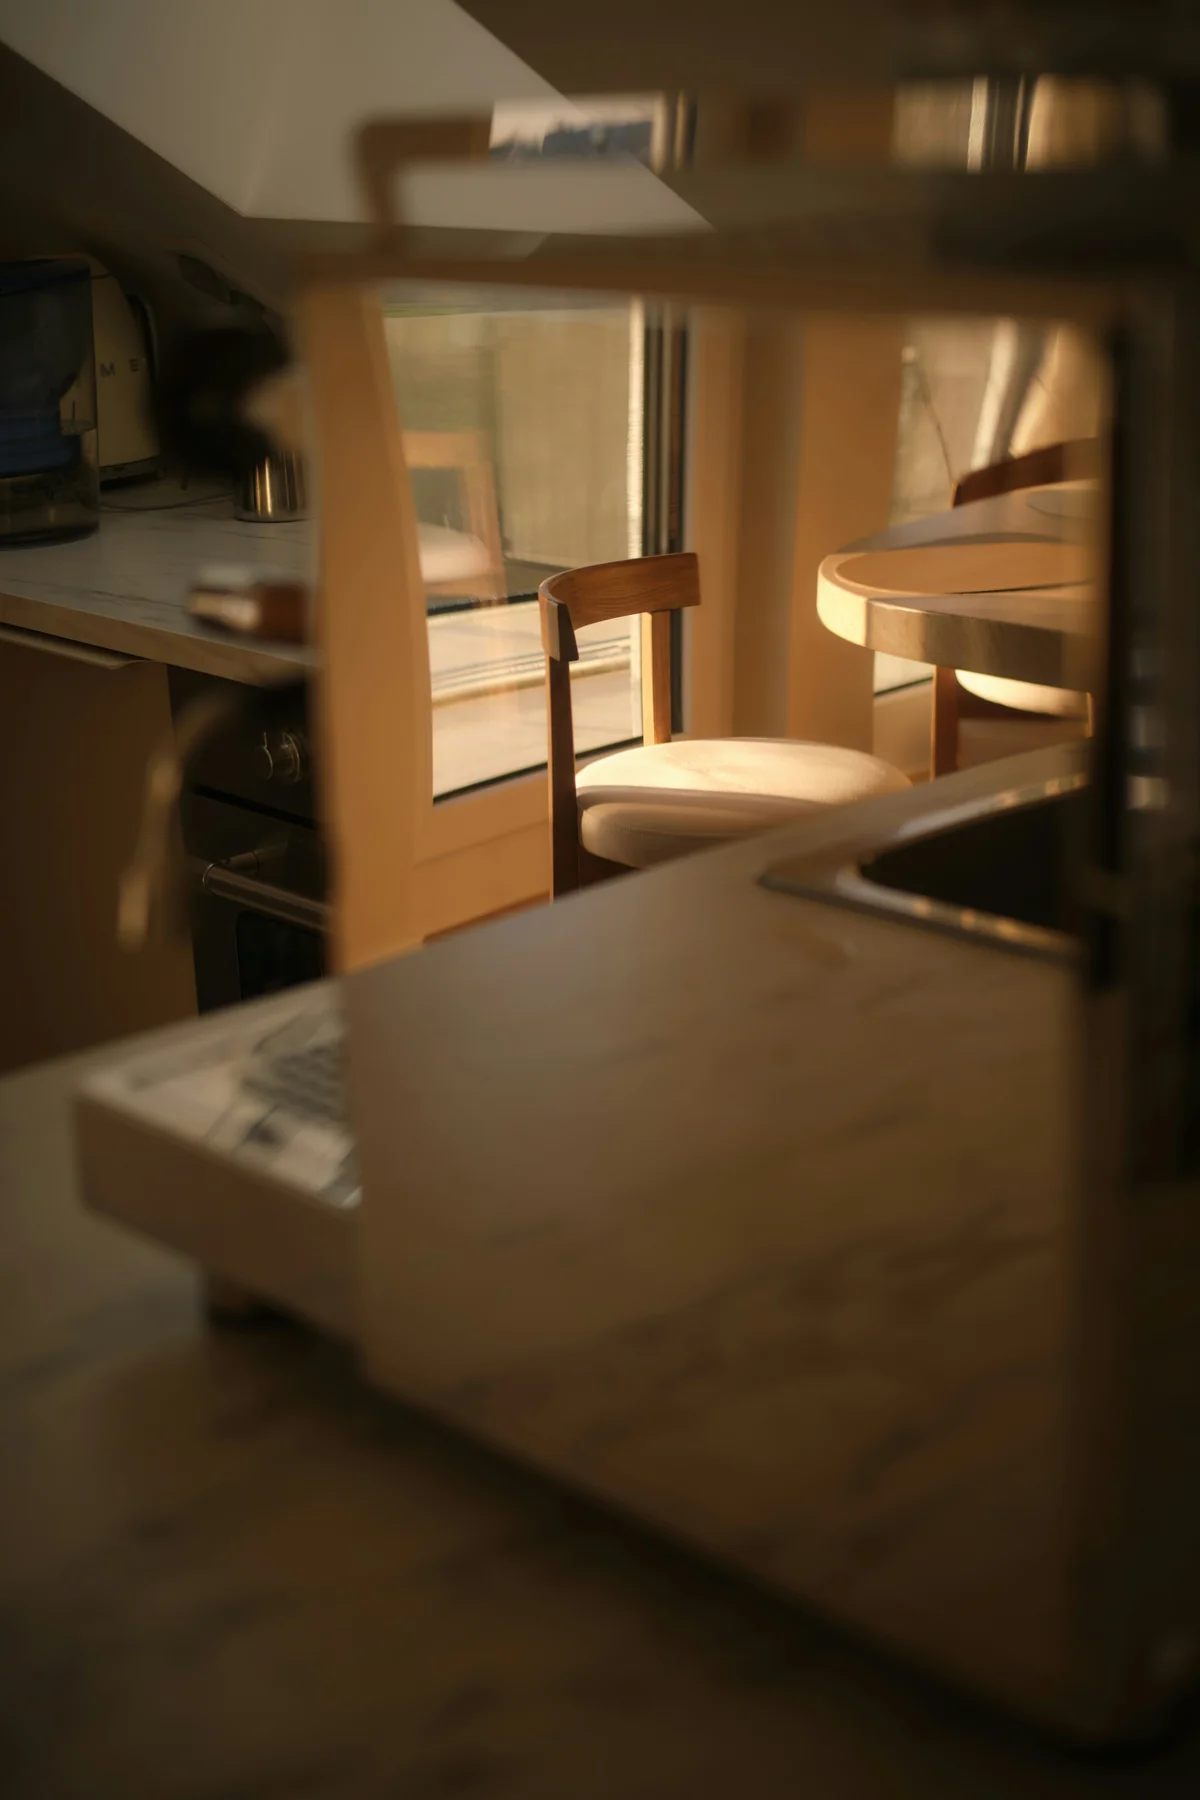
5. Add one small vase of flowers or clipped branches
Fresh flowers or greenery introduce shape and movement to an otherwise straight-lined room. You do not need a large arrangement. A few clipped branches in a narrow vase or a modest bunch of flowers can make the space feel cared for.
Choose a vase with a stable base, especially if it will sit near an area where you work. Keep it away from the sink edge, food preparation area, and any place where stems could knock against an appliance. The arrangement should not block your view across an island or make it awkward to reach a cupboard.
For a softer cottage feel, use loose greenery in an earthenware jug. For a more contemporary kitchen, try one branch in a plain glass or ceramic vase. Both approaches work because the shape of the stems does much of the visual work.
If counters are especially tight: Put the flowers on a windowsill, open shelf, or nearby dining table rather than forcing them beside your chopping board.
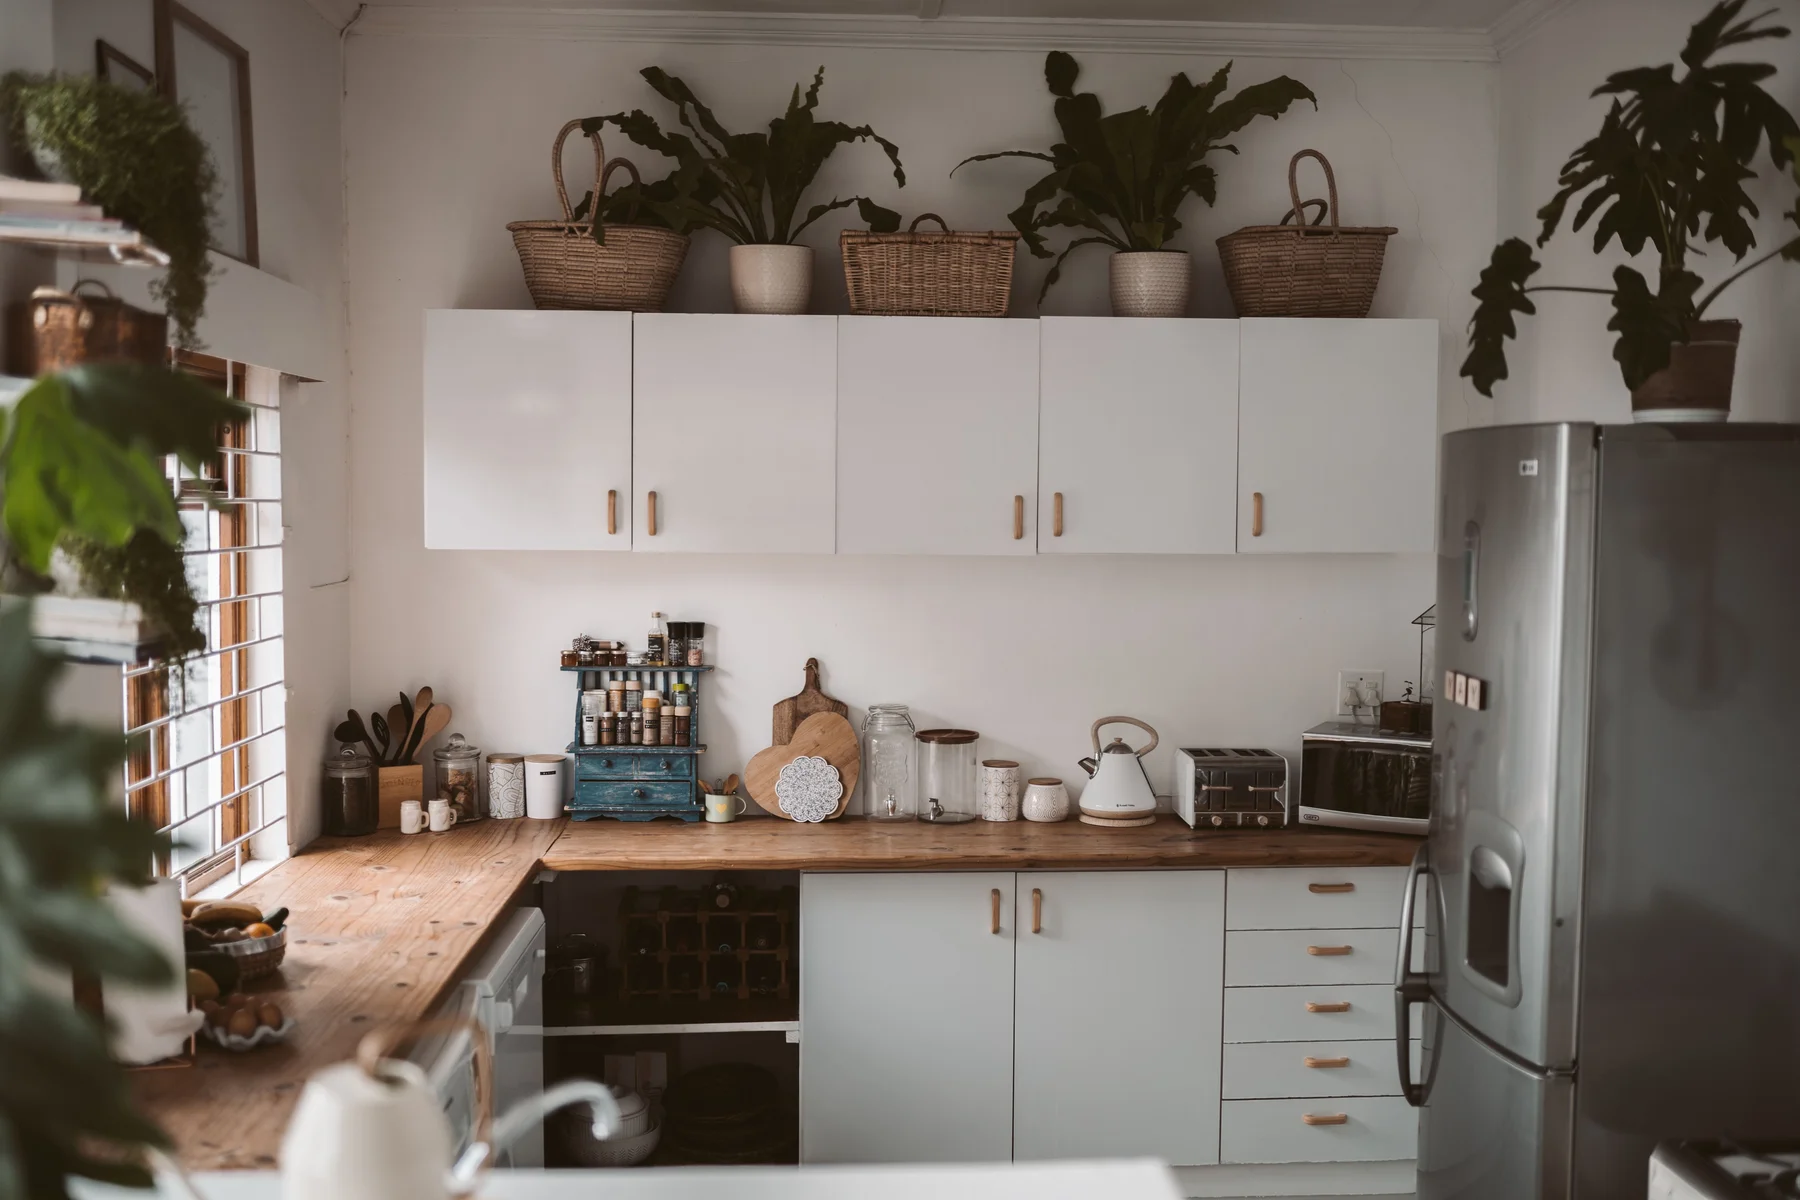
6. Use a fruit bowl as your simplest everyday centerpiece
A good fruit bowl is both functional and decorative. The shape, color, and texture of fruit can provide all the interest a counter needs. Lemons in a shallow ceramic bowl look different from apples in dark wood or pears in an understated woven basket.
Choose a bowl that is easy to clean and appropriate for the produce you actually keep at room temperature. Some fruits and vegetables belong in the refrigerator, so do not arrange them on the counter merely for appearance. Refresh the bowl regularly and remove spoiled produce promptly.
Position it where someone can reach it without leaning across a cooking area. If the kitchen opens into a living or dining room, a small fruit bowl on the non-working end of an island can gently connect the spaces.
The styling rule: Let the contents change naturally. The bowl should still look appropriate when it holds just two apples, rather than requiring a fully stocked still life every day.
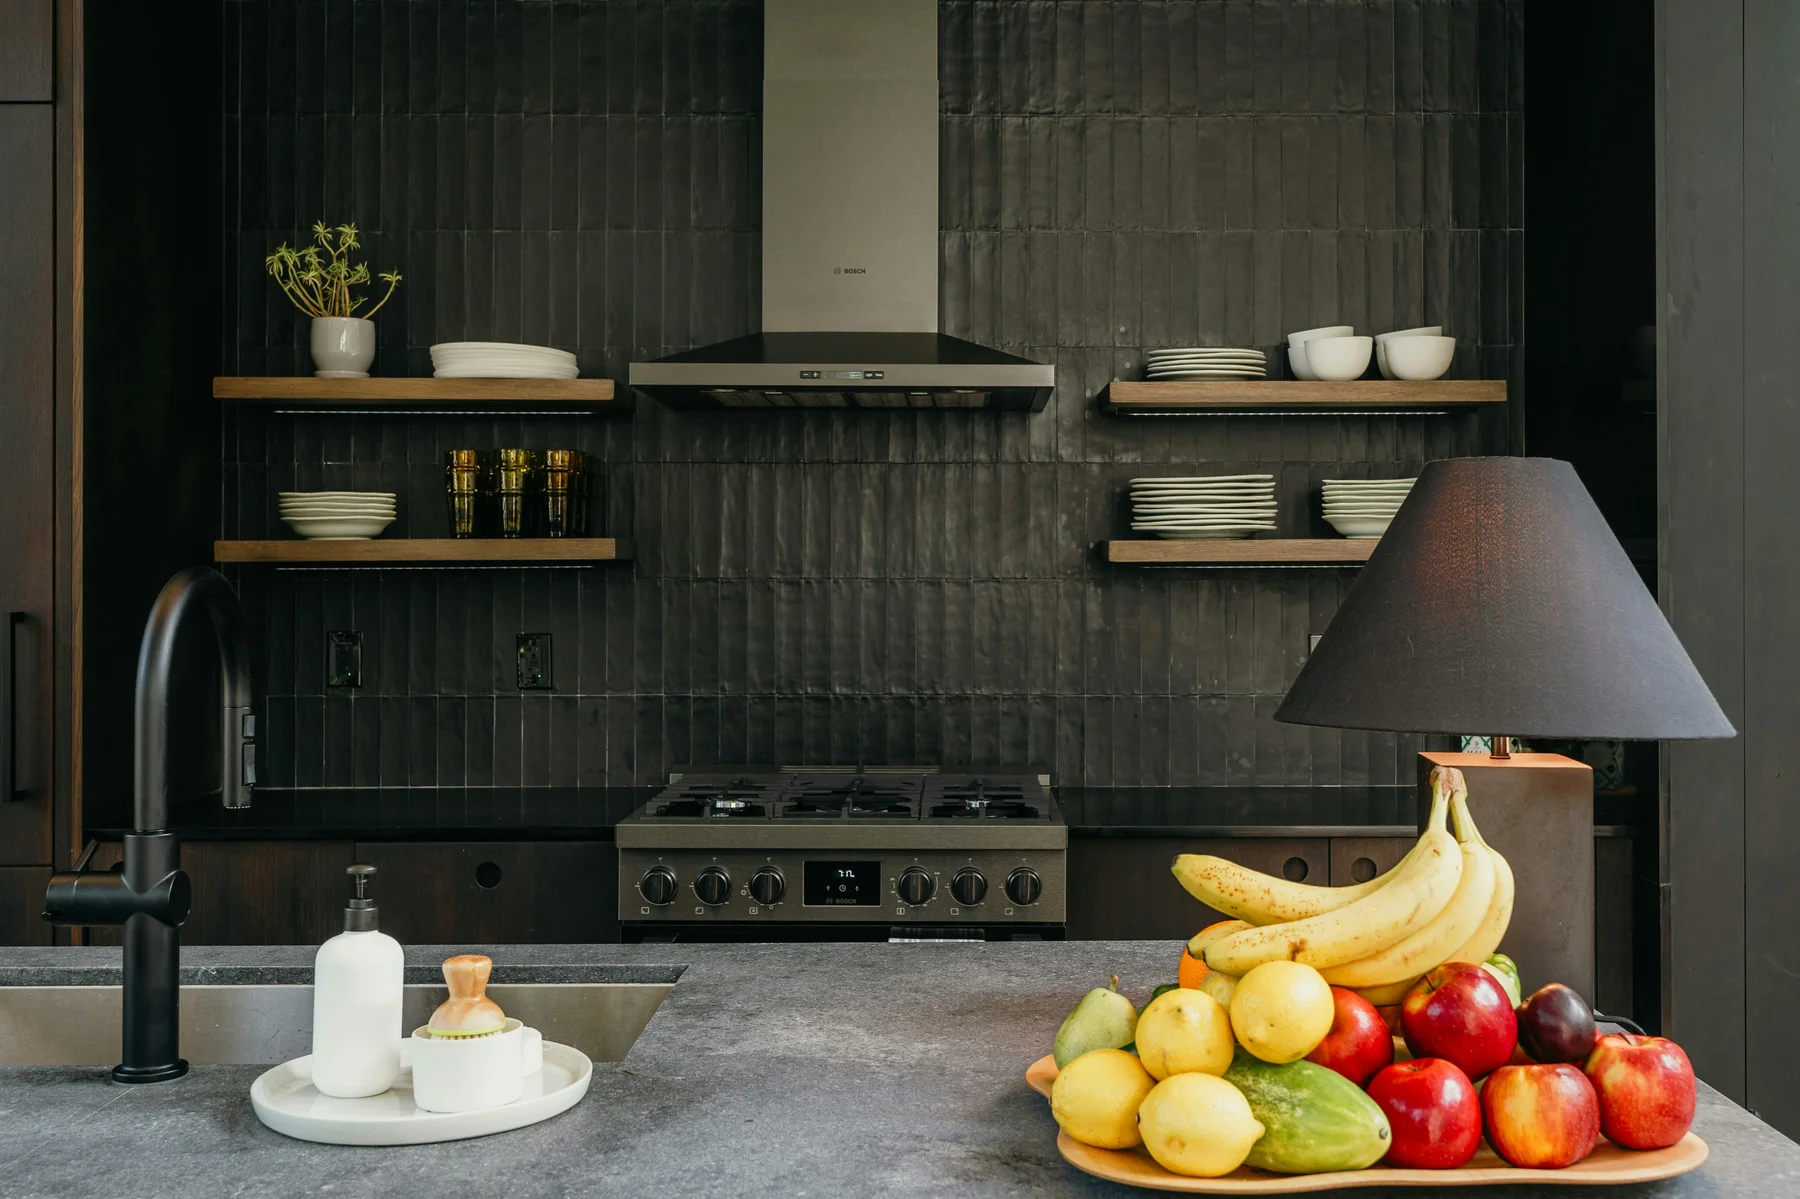
7. Choose attractive canisters only for ingredients you use often
Glass jars and ceramic canisters can look lovely, particularly in a kitchen with open shelves or a simple backsplash. But a row of identical containers is not automatically good organization. If you must move them to cook or refill them constantly, they become extra work.
Reserve visible canisters for things you actually use: perhaps coffee beans, tea bags, or a dry ingredient that suits the container and storage location. Check that lids close properly and that the food is stored in conditions appropriate for it. Put bulk pantry supplies in cabinets rather than filling the counter with decorative duplicates.
Try mixing just two material types, such as clear glass and matte stoneware, and repeating one lid finish. You will get a calmer look without making everything match perfectly.
Avoid: Decanting ingredients into unlabeled containers if it creates confusion about contents, dates, or allergens. Practical labeling matters more than a perfectly uniform shelf.
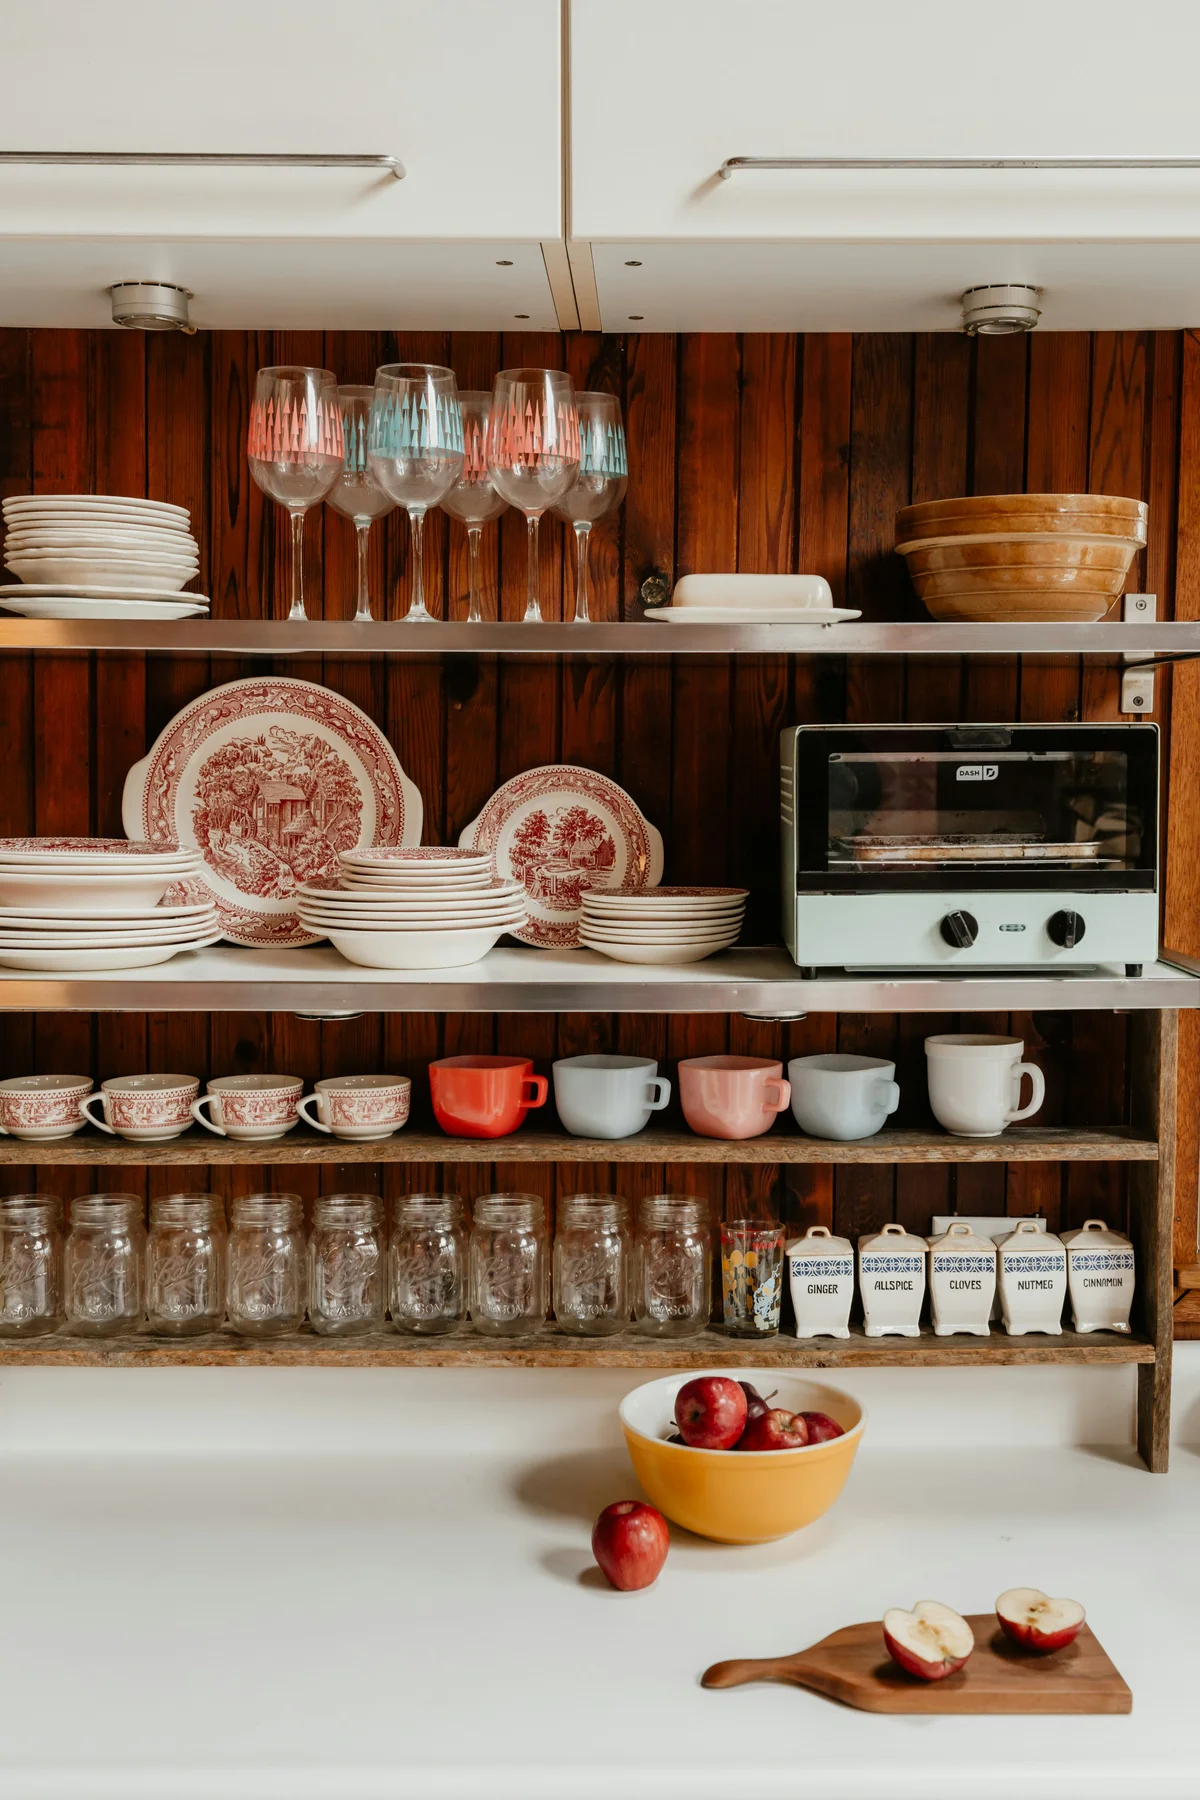
8. Let a little vintage character break up new finishes
New cabinetry and countertops sometimes need a small dose of character. A thrifted stoneware jug, wooden bread board, old-style mixing bowl, or single vintage tin can provide contrast without becoming a full theme.
Start with one piece that you genuinely like. A warm brown crock can look especially good against cool gray cabinets; worn timber can bring depth to an all-white kitchen. Let the object stand on its own rather than surrounding it with more vintage finds.
Use vintage items decoratively unless you know they are suitable for food contact. Older glazes, damaged finishes, and unknown materials may not be appropriate for storing food or drinks. A vintage pitcher can hold dried branches in a safe location, or simply sit empty as a sculptural accent.
Best for: Kitchens that feel too uniform, newly renovated spaces that need a personal touch, and renters who cannot change their finishes.
9. Style an unused corner, but respect what happens around it
Corners can collect unrelated objects because they are not part of the main work area. Instead of letting one become a dumping ground, give it a small, clear purpose.
An unused corner could hold a compact plant, a utensil crock, or a coffee setup. If it is near a sink, avoid paper, books, or sensitive finishes that might get splashed. If it is next to a toaster, air fryer, or other hot appliance, follow the manufacturer's spacing and ventilation instructions and skip decorative objects that could obstruct airflow or get hot.
You can also leave a corner empty. Not every visible surface needs an accessory, and an open corner may be where you temporarily set down an appliance, grocery bag, or mixing bowl.
Before buying anything: Watch how you use the corner for a few days. Its best purpose may be a practical one you have not noticed yet.
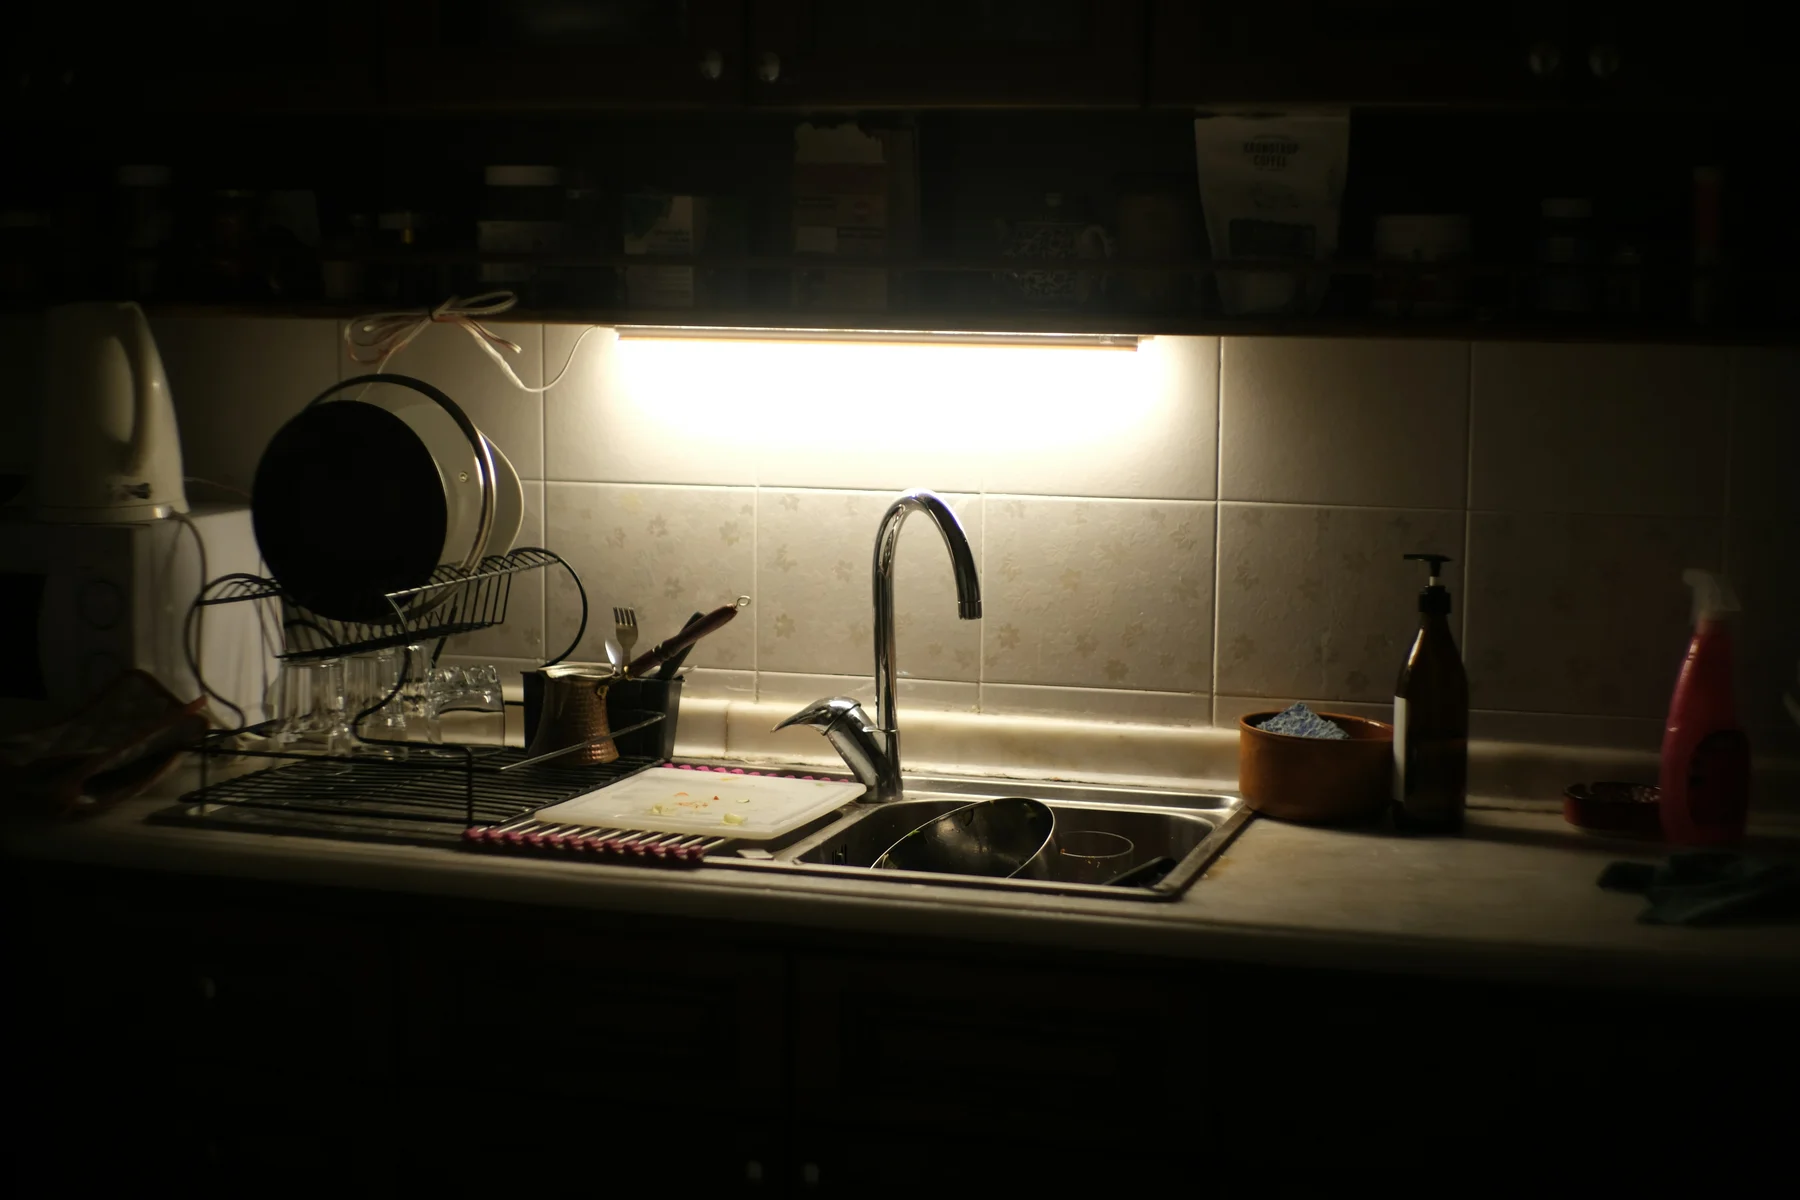
10. Improve the lighting that falls on the countertop
Good light makes simple materials look better, but it also helps you use the kitchen. If overhead lighting casts a shadow whenever you stand at the counter, consider whether better task lighting would do more than another vase or decorative jar.
Under-cabinet lights can illuminate a backsplash and provide a gentle glow in the evening. Look for products designed for the installation location, follow their electrical and clearance instructions, and keep cords away from water, hot surfaces, and food-preparation tasks. Use a qualified electrician where hardwiring is required.
In a rental, a suitable removable or plug-in product may be an option, but check the lease and manufacturer instructions first. Do not put a regular table lamp on a wet or crowded kitchen counter just to create atmosphere.
Once the working light is right, even a clean counter, one cutting board, and a ceramic crock can feel intentionally styled.
11. Repeat one material or color to make the whole counter feel calmer
When countertops look cluttered despite having only a few objects, the issue can be visual rather than physical. Too many unrelated colors, finishes, and shapes compete for attention.
Try repeating a material or color that already exists in the kitchen. If your cabinets have brushed brass handles, a warm metal detail on a tray might be enough. If there is walnut furniture nearby, a dark wood bowl can make the countertop feel connected to the rest of the room. You can also repeat a soft accent color from a rug or piece of artwork in a small vase or tea towel, positioned safely away from the stovetop.
This does not mean buying a matching set. In fact, slight differences in age and texture can make a kitchen more interesting. Aim for a few relationships between objects rather than identical finishes everywhere.
Try this edit: Remove everything decorative, then return only three pieces that share some visual connection. Live with that arrangement before adding anything else.
12. Change one small detail with the season
Seasonal decorating is easiest to live with when it does not require clearing the counter before every meal. Swap a simple vase, a bowl of seasonal produce, or one small decorative object instead of building a large holiday display.
In spring, try fresh branches or a small ceramic vase. In autumn, a modest bowl of apples or pears can bring warmth. At Christmas, a tiny arrangement of greenery in a safe, dry spot may be enough. Keep candles and combustible decorations away from burners, heat-producing appliances, and busy prep zones. Battery-powered decorative lights should be used only where they are rated and safely placed, with cords and batteries out of food-preparation areas.
If the kitchen has very little counter space, move seasonal decor to a shelf, windowsill, or nearby dining space. The room will still feel festive without asking a functional surface to become a display table.
The best seasonal counter decor is easy to remove, easy to clean around, and not missed when you need the space.
Three simple countertop styling formulas
If you are not sure where to begin, choose one of these starting points and adjust it to your actual kitchen.
For a short apartment counter
Keep the main prep stretch clear. At one end, use a narrow utensil crock or one small vase. If your coffee machine stays out, give it a defined footprint and keep additional supplies in a cabinet. The goal is a usable counter with a small amount of personality.
For a kitchen with a long uninterrupted counter
Choose two separated moments rather than one continuous row of decor: perhaps a fruit bowl toward the dining side and a utensil crock near, but safely away from, the cooking area. Leave generous open space between them. This will feel more relaxed than decorating the entire backsplash line.
For a kitchen island
Use a low, easily movable centerpiece on the side used for sitting or gathering, and keep the food-preparation side clear. A shallow bowl or short vase is less likely to block conversation than a tall arrangement. Make sure the setup does not interfere with stools, walkways, or the way you serve food.
Five countertop decorating mistakes worth avoiding
- Styling every empty stretch. The uninterrupted space is what makes a kitchen useful; it is not a flaw to fix.
- Choosing accessories before measuring. A decorative tray can be lovely in a photograph and far too wide for the counter beside your sink.
- Placing decor too close to heat. Towels, boards, dried arrangements, packaging, and other combustible items need to be kept away from stovetop burners and hot appliances.
- Using hard-to-clean displays in food-preparation areas. Dusty arrangements, tiny objects, and too many containers make routine cleaning harder.
- Buying duplicates for appearance alone. Before purchasing a new canister, bowl, or utensil holder, look for something you already use that could do the job beautifully.
A 15-minute countertop refresh
You do not need to redo the entire kitchen to see a difference. Clear the surfaces, clean them appropriately for their material, and return the essential appliances and daily-use items first. Check the areas you need for chopping, washing, unloading, and serving.
Now choose one spot for a decorative arrangement. Try a small tray, fruit bowl, or vase. Remove anything that makes you work around it. Finally, step back and look at the kitchen from the doorway. Does the counter seem easier to use? Can you still see the material and shape of the countertop? If so, you have probably done enough.
The most inviting kitchen is not necessarily the one with the most accessories. It is the one where a little beauty fits comfortably into an ordinary day.
Frequently asked questions
How can I decorate kitchen countertops without making them look cluttered?
Keep the main food-preparation area clear and group a few objects in one defined zone. Choose functional items that are already part of your routine, such as a fruit bowl, utensil crock, or coffee setup. Avoid spreading small accessories across the entire counter.
What looks good on kitchen countertops?
Materials with texture often work well: wood cutting boards, ceramic containers, a small plant, a simple vase, or a bowl of fruit. The right choice depends on how much space you have, what you use every day, and whether the object can be kept clean and away from heat.
How do I style countertops in a small kitchen?
Start with less. Choose one small grouping at the far end of the counter or on a safe windowsill, then keep the rest for cooking and cleanup. A coffee setup can count as the display if it is neat and contained. You do not need a separate decorative vignette.
Should I put a lamp on my kitchen countertop?
A standard table lamp may be unsuitable near water, cooking heat, spills, or crowded prep areas. Consider purpose-built task lighting instead, following the product's installation and electrical guidance. Any lighting solution should be appropriate for the kitchen location.
Can I decorate the counter next to my stove?
Keep anything that can catch fire, including cloth, wooden utensils, paper, and dried decorations, away from stovetop burners. Follow the appliance's instructions and keep the surrounding area free for safe cooking. A decorative corner farther from heat is a better option.
Sources
- CDC: Preventing food poisoning, guidance on cleaning surfaces and avoiding cross-contamination.
- CDC: When and how to clean and disinfect your home, guidance on kitchen surfaces after raw meat contact.
- NFPA: Safety with cooking equipment, guidance on keeping combustible materials away from stovetops.
Editorial note: Interior images illustrate general decorating approaches. Photographed spaces are not NorahDecor projects or before-and-after transformations.